

 Image 1 of 1
We recently discussed the Path Blur and the question arouse if we can assign a different degree of blur to each Path Blur. Well guys...I investigated and couldn't find any information on how to do that; everywhere I looked, the adjustments are global and apply to all Path Blurs.
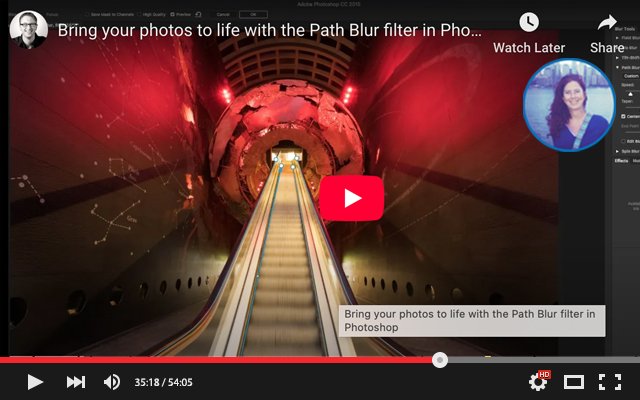
This video is a great demonstration by Greg Benz explaining how it works in case you missed our previous session:
Are you using movement to tell stories with your photos? In this demo, I'll show you how to use the Path Blur filter in Photoshop to bring your photos to life.
Key segments:
0:00 Intro
0:40 Overview of exposure blending used to prep the image
1:52 Step #1: Create clone stamp (to be blurred)
2:10 [demo of why motion blur won't work on this image]
3:15 Step #2: Convert to smart object
3:42 Step #3: Path blur
11:25 Step #4: Add layer mask to control where blur is applied
14:33 Step #5: Edit smart object to get rid of blur artifacts
17:23 Comparison of Motion vs Path Blur, and Recap of the process
We recently discussed the Path Blur and the question arouse if we can assign a different degree of blur to each Path Blur. Well guys...I investigated and couldn't find any information on how to do that; everywhere I looked, the adjustments are global and apply to all Path Blurs.
This video is a great demonstration by Greg Benz explaining how it works in case you missed our previous session:
Are you using movement to tell stories with your photos? In this demo, I'll show you how to use the Path Blur filter in Photoshop to bring your photos to life.
Key segments:
0:00 Intro
0:40 Overview of exposure blending used to prep the image
1:52 Step #1: Create clone stamp (to be blurred)
2:10 [demo of why motion blur won't work on this image]
3:15 Step #2: Convert to smart object
3:42 Step #3: Path blur
11:25 Step #4: Add layer mask to control where blur is applied
14:33 Step #5: Edit smart object to get rid of blur artifacts
17:23 Comparison of Motion vs Path Blur, and Recap of the process